[Flutter]03 가로세로 배치법과 Scaffold
ref : 코딩 애플 [쉽게 배우는 플러터 강의]
MaterialApp() 이라는 위젯을 알아보자
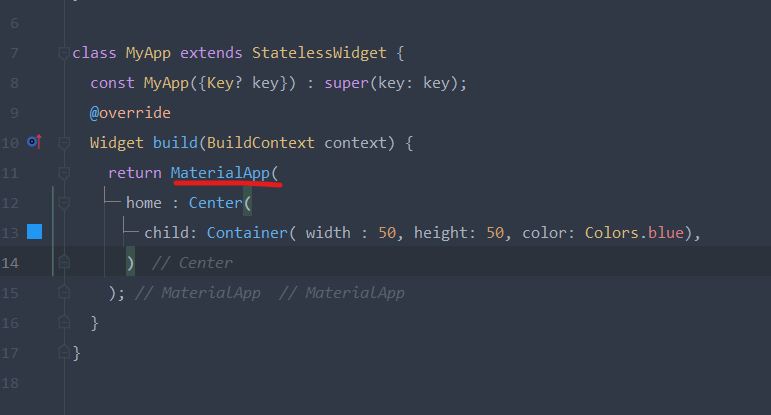
이 위젯을 쓰면 구글이 제공하는 Material 테마를 이용해서 앱을 만들 수 있다.
근데 이건 구글 스타일이고
나는 아이폰 기본 스타일의 앱을 만들고 싶다 라고하면 다른 위젯을 쓰고 사용하면 됨.
만약에 내가 직접 커스터마이징 하고싶다 라고 한다면
그래도 MaterialApp()을 써야한다.
이 위젯 안에 디자인만 포함되는게 아니라 기본 세팅들도 포함하고 있기 때문임.
Scaffold() 위젯
이 위젯은 앱을 우리가 흔히 아는 '상 중 하'로 나누어준다.
import 'package:flutter/material.dart';

void main() {
  runApp(const MyApp());
}

class MyApp extends StatelessWidget {
  const MyApp({Key? key}) : super(key: key);
  @override
  Widget build(BuildContext context) {
    return MaterialApp(
      home : Scaffold(
        appBar : AppBar(),
        body: Container(),
        bottomNavigationBar: BottomAppBar(),
      )
    );

  }
}
appBar, Body, bottomNavigationBar 로 나누어진다.
아이콘을 3개 나란히 넣어보려고 한다(가로로)
일단 한개를 넣어보았다.
import 'package:flutter/material.dart';

void main() {
  runApp(const MyApp());
}

class MyApp extends StatelessWidget {
  const MyApp({Key? key}) : super(key: key);
  @override
  Widget build(BuildContext context) {
    return MaterialApp(
      home : Scaffold(
        body: Container(
          child : Icon(Icons.star)
        ),
      )
    );

  }
}
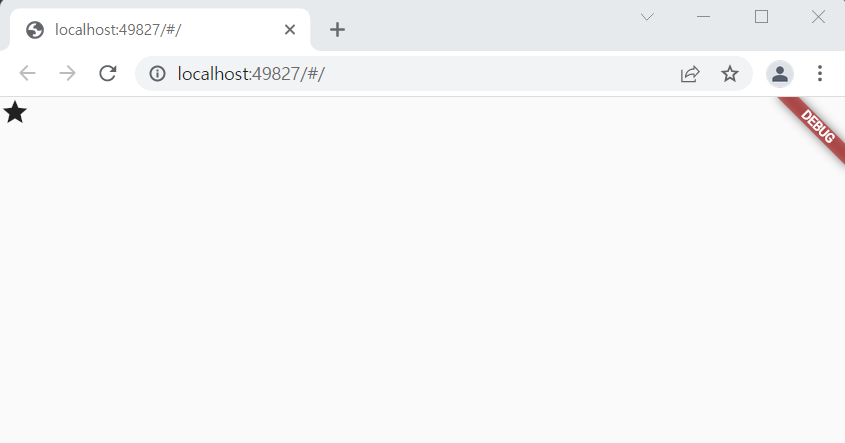
Scaffold 는 기준점을 자동으로 왼쪽 위로 잡아준다.
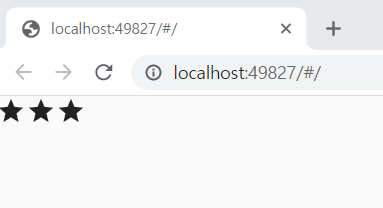
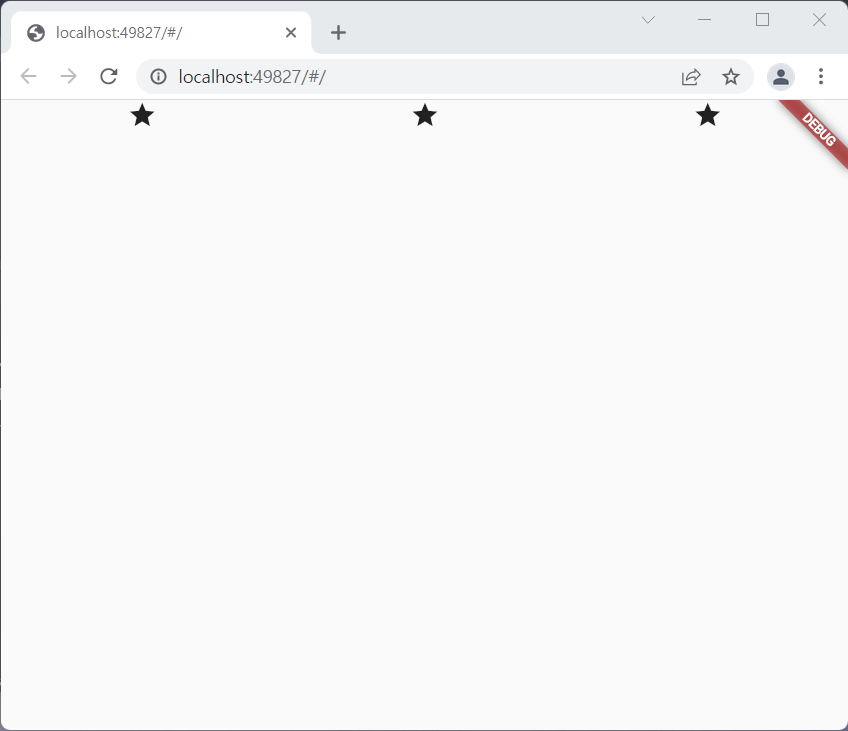
여러 위젯을 가로로 배치하려면
Row( children : [ ] )
처럼 쓰면 된다.
import 'package:flutter/material.dart';

void main() {
  runApp(const MyApp());
}

class MyApp extends StatelessWidget {
  const MyApp({Key? key}) : super(key: key);
  @override
  Widget build(BuildContext context) {
    return MaterialApp(
      home : Scaffold(
        body: Row(
          children: [
            Icon(Icons.star),
            Icon(Icons.star),
            Icon(Icons.star),
          ],
        )
      )
    );

  }
}
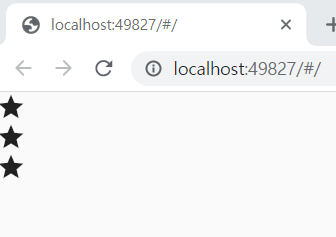
세로로 배치 하고 싶으면 Column( children : [] ) 로 하면 되겠다.
import 'package:flutter/material.dart';

void main() {
  runApp(const MyApp());
}

class MyApp extends StatelessWidget {
  const MyApp({Key? key}) : super(key: key);
  @override
  Widget build(BuildContext context) {
    return MaterialApp(
      home : Scaffold(
        body: Column(
          children: [
            Icon(Icons.star),
            Icon(Icons.star),
            Icon(Icons.star),
          ],
        )
      )
    );

  }
}
Row, Column 요소들을 센터로 정렬하려면
mainAxisAlignment: MainAxisAlignment.center을 추가한다
import 'package:flutter/material.dart';

void main() {
  runApp(const MyApp());
}

class MyApp extends StatelessWidget {
  const MyApp({Key? key}) : super(key: key);
  @override
  Widget build(BuildContext context) {
    return MaterialApp(
      home : Scaffold(
        body: Row(
          mainAxisAlignment: MainAxisAlignment.center,
          children: [
            Icon(Icons.star),
            Icon(Icons.star),
            Icon(Icons.star),
          ],
        )
      )
    );

  }
}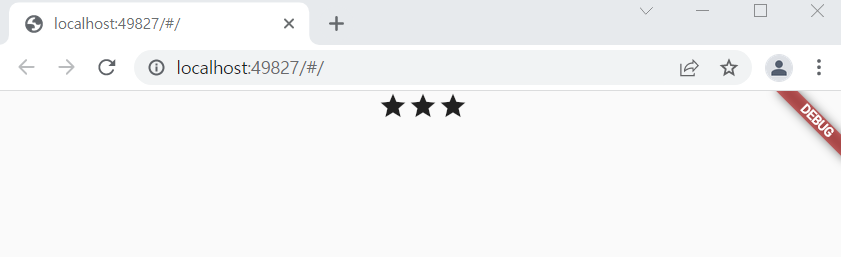
뒤에 center를 다른걸로 활용해 볼수도 있겠다.
import 'package:flutter/material.dart';

void main() {
  runApp(const MyApp());
}

class MyApp extends StatelessWidget {
  const MyApp({Key? key}) : super(key: key);
  @override
  Widget build(BuildContext context) {
    return MaterialApp(
      home : Scaffold(
        body: Row(
          mainAxisAlignment: MainAxisAlignment.spaceAround,
          children: [
            Icon(Icons.star),
            Icon(Icons.star),
            Icon(Icons.star),
          ],
        )
      )
    );

  }
}
css 의 display : flex 와 유사하다
Row 의 mainAxis 는 가로축을 정렬할 수 있고
Row 의 corssAxis 는 세로축을 정렬할 수 있다.
import 'package:flutter/material.dart';

void main() {
  runApp(const MyApp());
}

class MyApp extends StatelessWidget {
  const MyApp({Key? key}) : super(key: key);
  @override
  Widget build(BuildContext context) {
    return MaterialApp(
      home : Scaffold(
        body: Row(
          mainAxisAlignment: MainAxisAlignment.spaceAround,
          crossAxisAlignment: CrossAxisAlignment.center,
          children: [
            Icon(Icons.star),
            Icon(Icons.star),
            Icon(Icons.star),
          ],
        )
      )
    );

  }
}
Row 를 Column으로 바꿔보면
import 'package:flutter/material.dart';

void main() {
  runApp(const MyApp());
}

class MyApp extends StatelessWidget {
  const MyApp({Key? key}) : super(key: key);
  @override
  Widget build(BuildContext context) {
    return MaterialApp(
      home : Scaffold(
        body: Column(
          mainAxisAlignment: MainAxisAlignment.spaceAround,
          crossAxisAlignment: CrossAxisAlignment.center,
          children: [
            Icon(Icons.star),
            Icon(Icons.star),
            Icon(Icons.star),
          ],
        )
      )
    );

  }
}
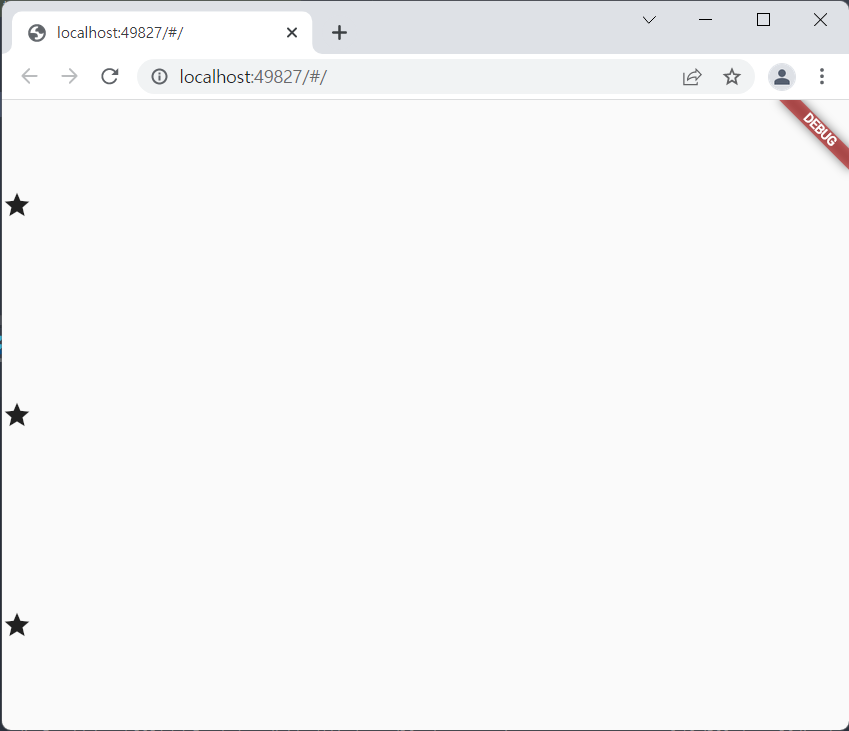
세로축으로 spaceAround 으로 정렬된 것을 볼 수 있다.
Tip..?
뭐쓸지 기억안나면 단축기 ctrl + space 누르자
자동완성 뜬다
그리고 파라미터 우측에 뭐 쓸지 생각안나면
1. 파라미터를 대문자로 써보기
2. 파라미터 위에 마우스 올리기 -> 타입 알려줌(타입 그대로 가져다 쓰기)
3. 구글링하기
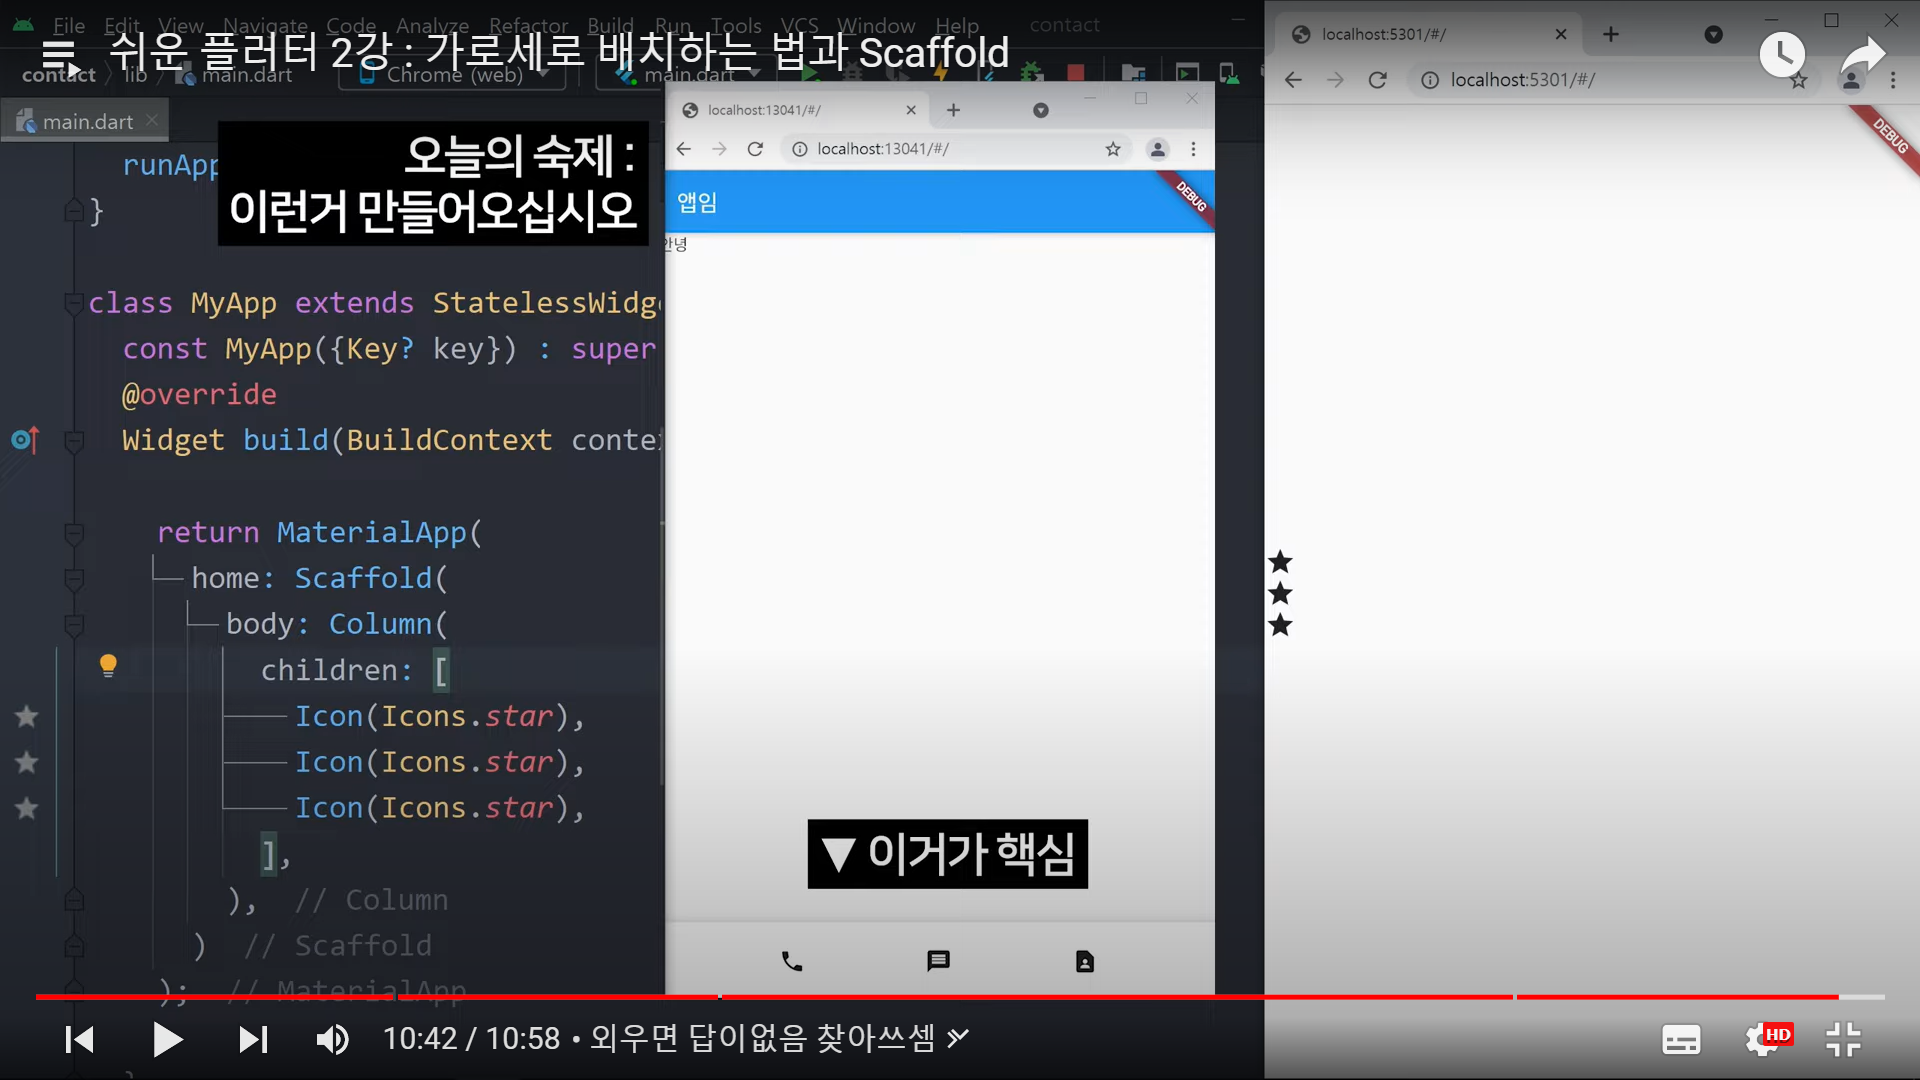
숙제 한번 만들어보자
import 'package:flutter/material.dart';

void main() {
  runApp(const MyApp());
}

class MyApp extends StatelessWidget {
  const MyApp({Key? key}) : super(key: key);
  @override
  Widget build(BuildContext context) {
    return MaterialApp(
      home : Scaffold(
        appBar: AppBar( title: Text('앱임'),),
        body: Text('안녕'),
        bottomNavigationBar: BottomAppBar(
          child: Row(
            mainAxisAlignment: MainAxisAlignment.spaceEvenly,
            children: [
              Icon(Icons.phone),
              Icon(Icons.message),
              Icon(Icons.contact_page),
            ],
          ),
        ),
      )
    );

  }
}
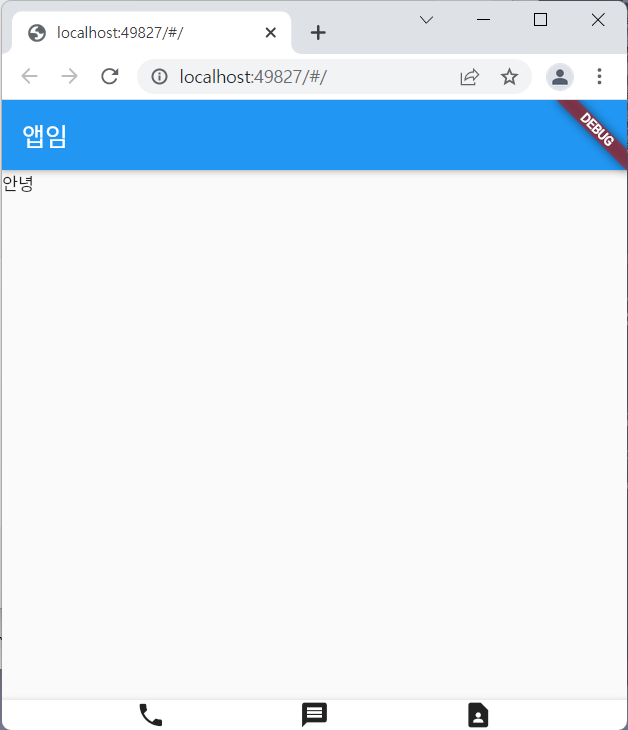
근데 하단바가 너무 낮다
BottomAppBar 의 높이 조절을 해보고 싶다.
Container 안에 Row를 넣으면 폭 조절을 할 수 있다.
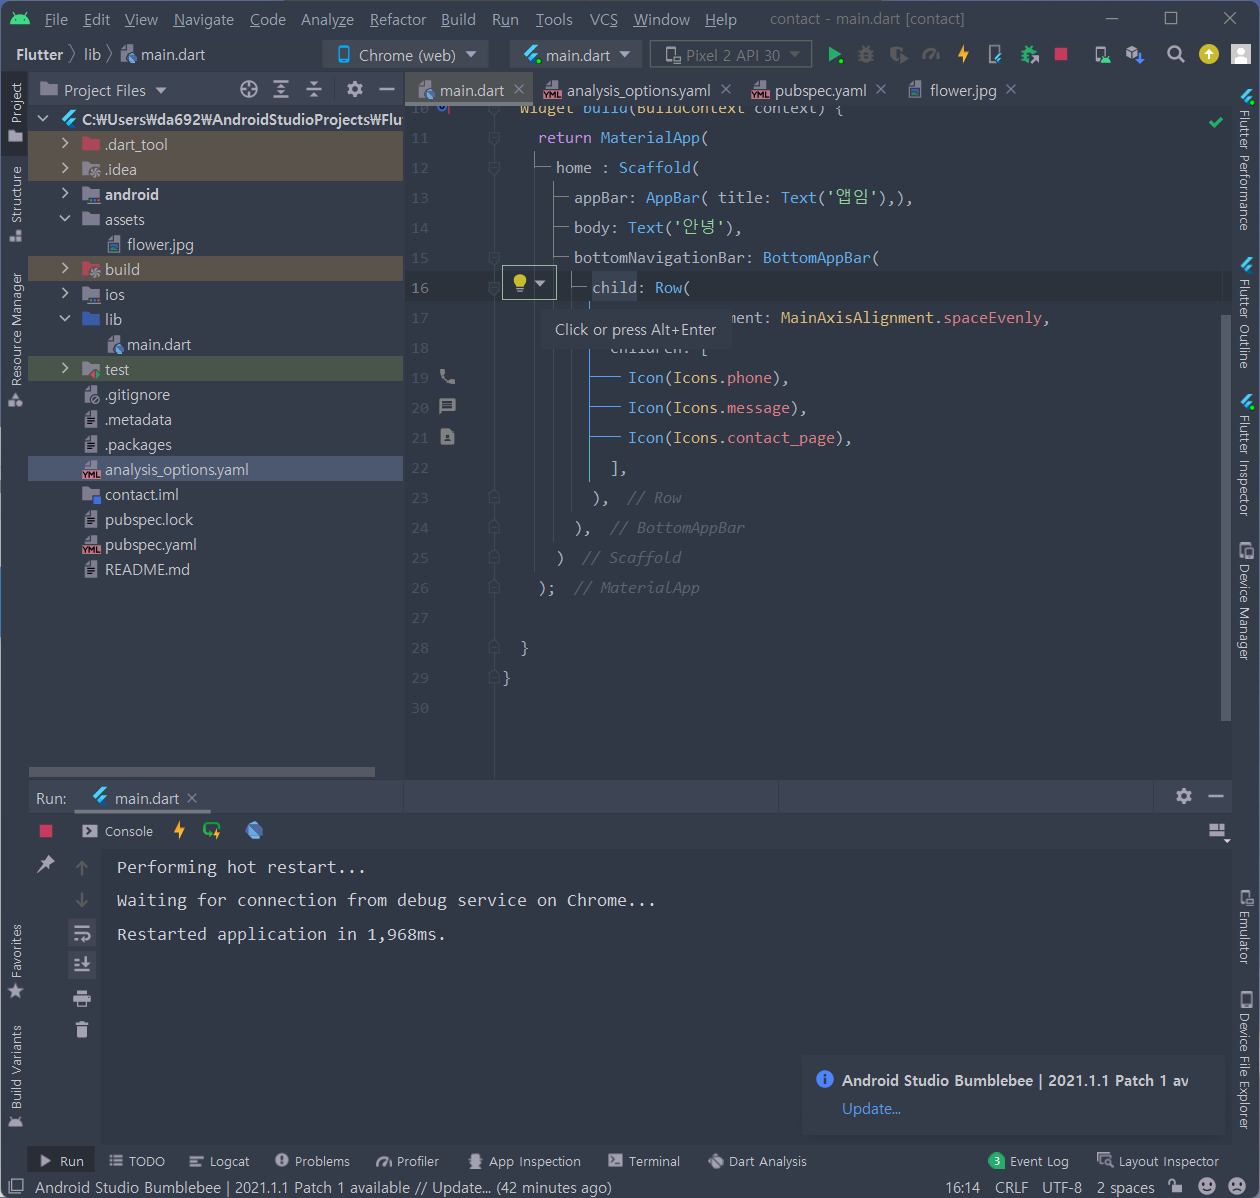
저렇게 Row 옆에 전구 모양 아이콘에 마우스 갖다대면 Wrap with Container가 뜬다
이렇게 하면 복잡하게 고칠거 없이 편하게 수정할 수 있다.
Container 로 감싼 뒤에 height 값을 넣어줬다
import 'package:flutter/material.dart';

void main() {
  runApp(const MyApp());
}

class MyApp extends StatelessWidget {
  const MyApp({Key? key}) : super(key: key);
  @override
  Widget build(BuildContext context) {
    return MaterialApp(
      home : Scaffold(
        appBar: AppBar( title: Text('앱임'),),
        body: Text('안녕'),
        bottomNavigationBar: BottomAppBar(
          child: Container(
            height: 70,
            child: Row(
              mainAxisAlignment: MainAxisAlignment.spaceEvenly,
              children: [
                Icon(Icons.phone),
                Icon(Icons.message),
                Icon(Icons.contact_page),
              ],
            ),
          ),
        ),
      )
    );

  }
}
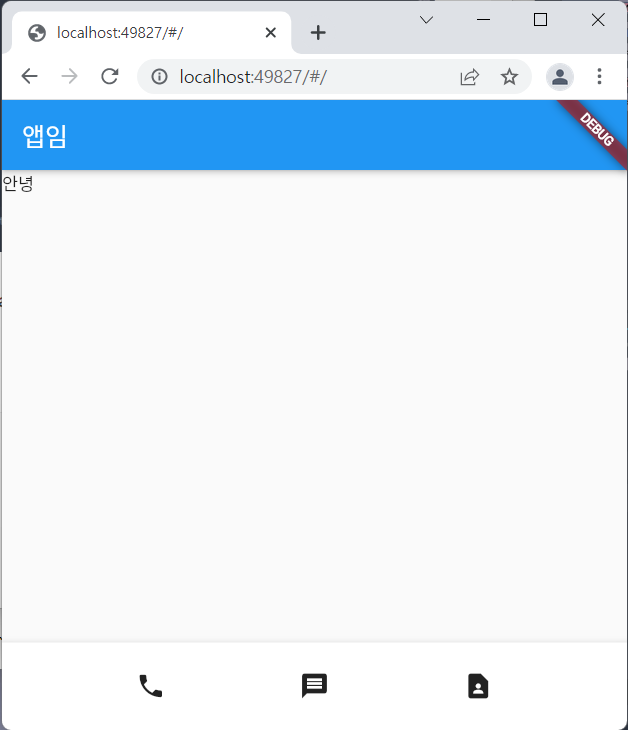
하단바의 높이가 조절 된 모습을 볼 수 있다.
근데 Container에 밑줄이 있는 걸 보니 Lint가 잡은 것 같다.
마우스를 올려보면 SizedBox 로 대체하라는 문구가 뜬다.
Container 말고 SizedBox 라는 위젯을 써보자
밑줄이 사라진다
Container 위젯은 좀 무거운 편이다.
width, height, child 만 필요한 박스는 SizedBox()를 쓰는게 성능상 이점이 있을 수 있다.
숙제 완료!!