[Flutter]04 박스 디자인
ref : 코딩 애플 [쉽게 배우는 플러터 강의]
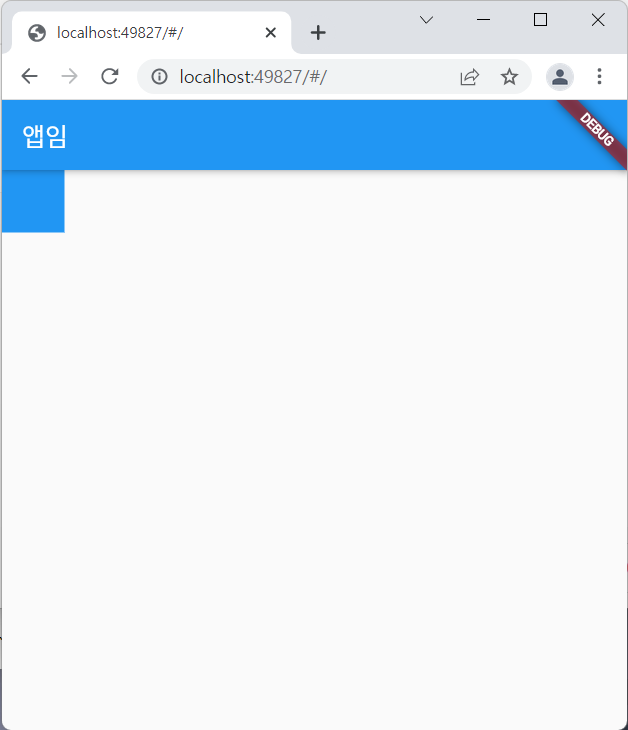
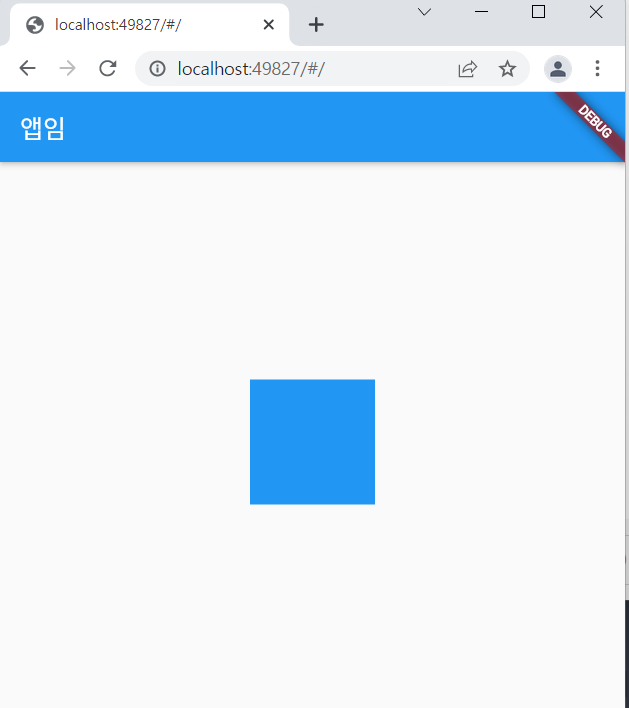
Container 박스를 꾸며보자
width, height, color 값을 넣어주었다.
import 'package:flutter/material.dart';

void main() {
  runApp(const MyApp());
}

class MyApp extends StatelessWidget {
  const MyApp({Key? key}) : super(key: key);
  @override
  Widget build(BuildContext context) {
    return MaterialApp(
      home : Scaffold(
        appBar: AppBar(title : Text('앱임')),
        body: Container(
          width: 50, height: 50, color : Colors.blue,
        )
      )
    );

  }
}
여기서 박스에 여백을 주고싶다면 margin 을 활용하자
margin 은 그냥 단순히 값이 아닌데, 마우스를 올려보면 EdgeInsets 라는게 뜬다.
import 'package:flutter/material.dart';

void main() {
  runApp(const MyApp());
}

class MyApp extends StatelessWidget {
  const MyApp({Key? key}) : super(key: key);
  @override
  Widget build(BuildContext context) {
    return MaterialApp(
      home : Scaffold(
        appBar: AppBar(title : Text('앱임')),
        body: Container(
          width: 50, height: 50, color : Colors.blue,
          margin: EdgeInsets.all(20),
        )
      )
    );

  }
}
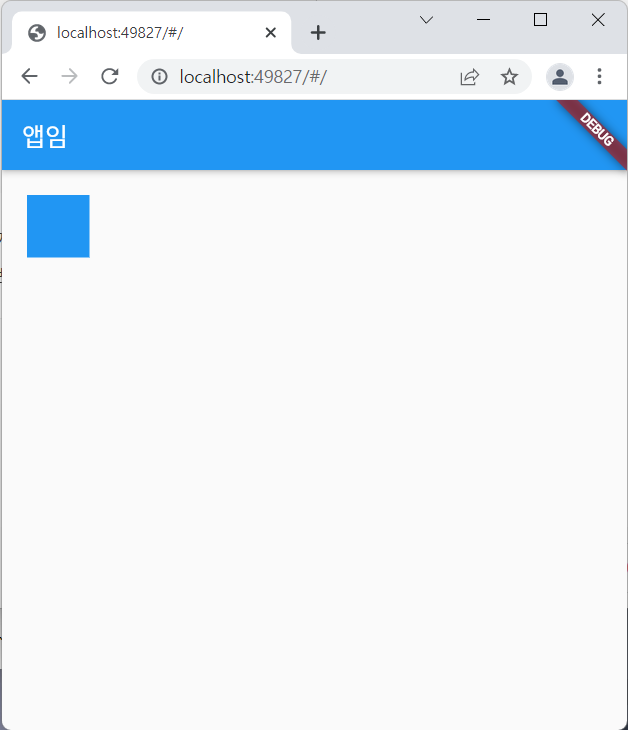
여백이 들어간 걸 볼 수 있다.
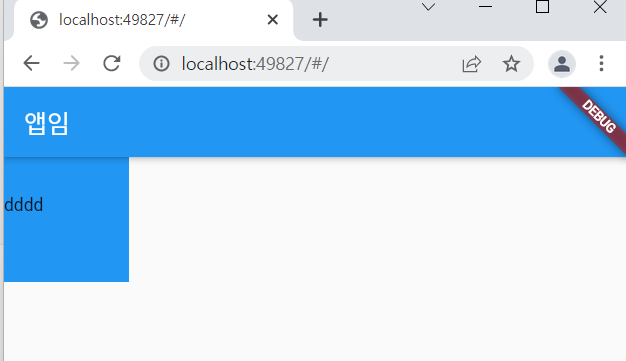
padding 도 똑같이 EdgeInsets 를 활용해서 써주면 된다
padding 이 적용 되었는지 텍스트를 한번 써보았다.
import 'package:flutter/material.dart';

void main() {
  runApp(const MyApp());
}

class MyApp extends StatelessWidget {
  const MyApp({Key? key}) : super(key: key);
  @override
  Widget build(BuildContext context) {
    return MaterialApp(
      home : Scaffold(
        appBar: AppBar(title : Text('앱임')),
        body: Container(
          width: 100, height: 100, color : Colors.blue,
          padding : EdgeInsets.all(20),
          child: Text('dddd'),
        )
      )
    );

  }
}
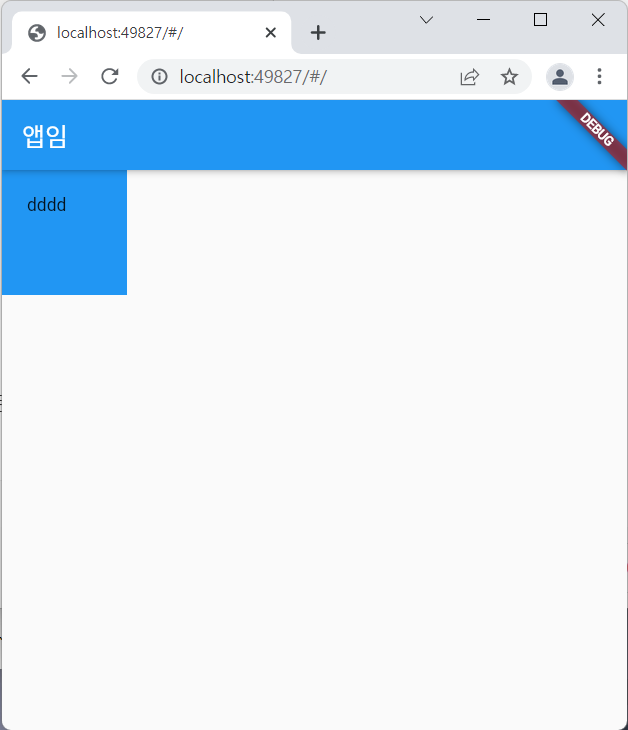
박스와 텍스트 사이에 padding 값만큼 간격이 생겼다.
박스에 일부 여백을 줄수도 있다.
지금은 all 로 되어 있어서 모든 방향으로 여백을 주지만
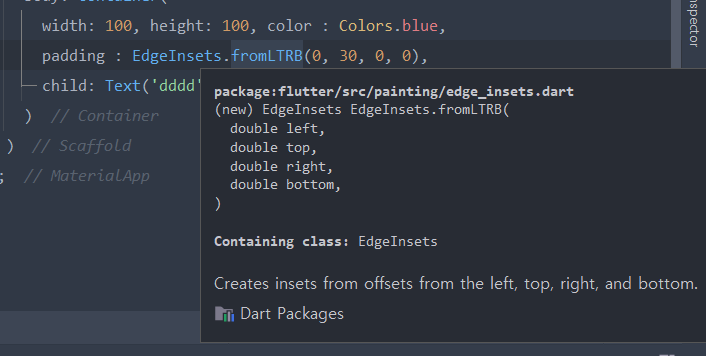
위쪽만 여백을 주고 싶으면 fromLTRB 를 사용하자
import 'package:flutter/material.dart';

void main() {
  runApp(const MyApp());
}

class MyApp extends StatelessWidget {
  const MyApp({Key? key}) : super(key: key);
  @override
  Widget build(BuildContext context) {
    return MaterialApp(
      home : Scaffold(
        appBar: AppBar(title : Text('앱임')),
        body: Container(
          width: 100, height: 100, color : Colors.blue,
          padding : EdgeInsets.fromLTRB(0, 30, 0, 0),
          child: Text('dddd'),
        )
      )
    );

  }
}
위쪽으로만 여백이 20 들어간 모습이다.
박스에 테두리를 주려면?
나머지 박스 스타일들은 decoration : 안에 넣어야 한다.
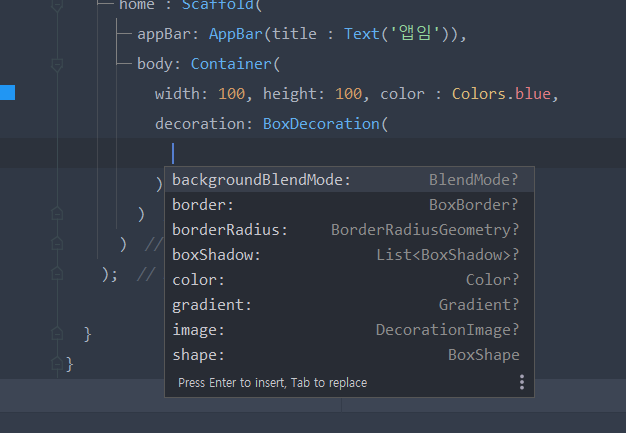
ctrl + space 해보니 뜨는게 이것저것 많다
활용해보면 될 것같다.
나는 테두리를 넣고싶은거니까 border를 사용해보겠다
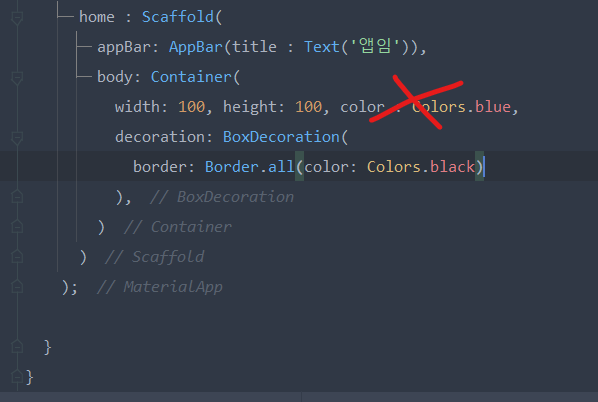
테두리 색을 지정할 때 에러가 뜨는데
color를 두 번 정의해서 그렇다
decoration 을 키면 color가 decoration 안으로 들어가야한다.
import 'package:flutter/material.dart';

void main() {
  runApp(const MyApp());
}

class MyApp extends StatelessWidget {
  const MyApp({Key? key}) : super(key: key);
  @override
  Widget build(BuildContext context) {
    return MaterialApp(
      home : Scaffold(
        appBar: AppBar(title : Text('앱임')),
        body: Container(
          width: 100, height: 100,
          decoration: BoxDecoration(
            border: Border.all(color: Colors.black)
          ),
        )
      )
    );

  }
}
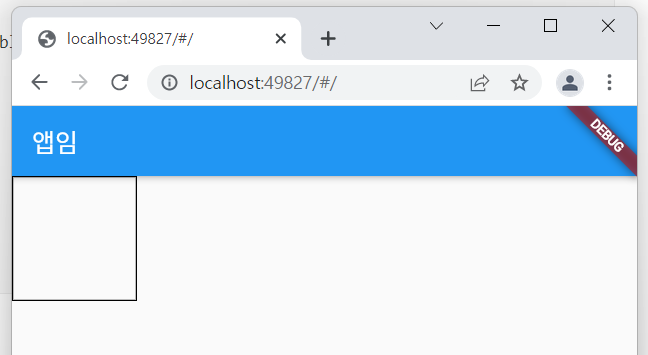
테두리가 들어간 모습이다.
박스 위치 정렬 하는 법
center() 안에 넣으면 정중앙 정렬이 된다고 배웠었다.
Container 를 center()로 감싸주자
코드 힘들게 수정하지 말고 전구 아이콘 눌러서 Wrap 할 것!
import 'package:flutter/material.dart';

void main() {
  runApp(const MyApp());
}

class MyApp extends StatelessWidget {
  const MyApp({Key? key}) : super(key: key);
  @override
  Widget build(BuildContext context) {
    return MaterialApp(
      home : Scaffold(
        appBar: AppBar(title : Text('앱임')),
        body: Center(
          child: Container(
            width: 100, height: 100, color: Colors.blue,
          ),
        )
      )
    );

  }
}
근데 정중앙 정렬이 아니라면?
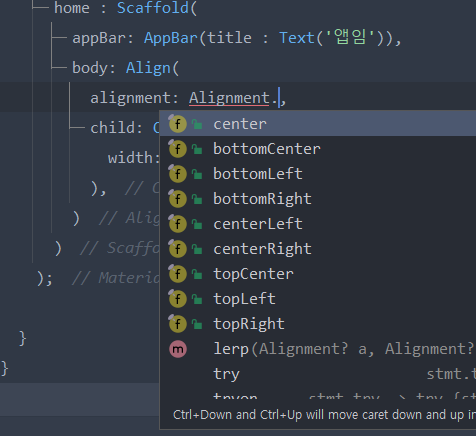
center가 아닌 Align 을 쓴다
그리고 alignment 라는 파라미터를 쓰면 된다
자동완성 되는거 보면 굉장히 쓸 수 있는게 많다
import 'package:flutter/material.dart';

void main() {
  runApp(const MyApp());
}

class MyApp extends StatelessWidget {
  const MyApp({Key? key}) : super(key: key);
  @override
  Widget build(BuildContext context) {
    return MaterialApp(
      home : Scaffold(
        appBar: AppBar(title : Text('앱임')),
        body: Align(
          alignment: Alignment.bottomCenter,
          child: Container(
            width: 100, height: 100, color: Colors.blue,
          ),
        )
      )
    );

  }
}
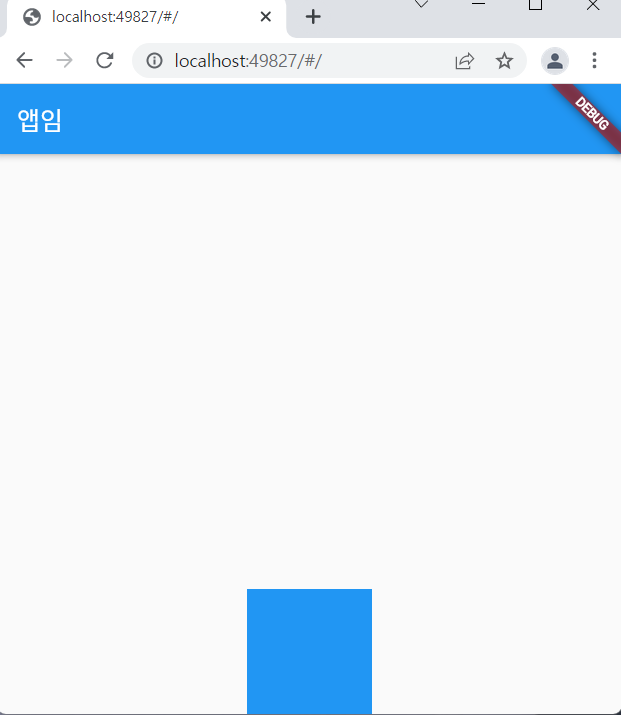
bottomCenter으로 하단중앙정렬 해보았다.
박스 width 를 가로로 꽉차게 하는 법
이럴땐 가로폭 값을 무한히라고 주면 된다.
double.infinity 라고 하면 됨.
import 'package:flutter/material.dart';

void main() {
  runApp(const MyApp());
}

class MyApp extends StatelessWidget {
  const MyApp({Key? key}) : super(key: key);
  @override
  Widget build(BuildContext context) {
    return MaterialApp(
      home : Scaffold(
        appBar: AppBar(title : Text('앱임')),
        body: Align(
          alignment: Alignment.bottomCenter,
          child: Container(
            width: double.infinity, height: 100, color: Colors.blue,
          ),
        )
      )
    );

  }
}

그럼 이렇게 가로로 꽉찬다.
+
더 필요한 것은 구글링해가면서 공부해보자.